This recipe was submitted by one of our readers, just like you.
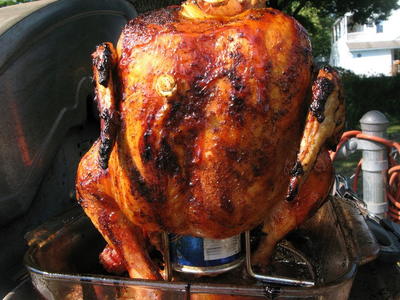
Smoked Beer Can Chicken

Smoked Beer Can Chicken
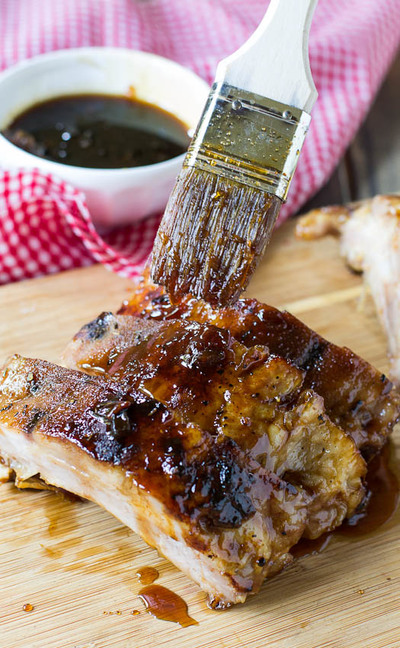
"Beer can chicken gets everyone in my family excited! It could be that the chicken is joining in on an afternoon brewski. Or is knowing that chicken sitting on a can of beer makes means an exceptionally juicy and flavorsome bird! I usually serve this with smoked potato salad, grilled eggplants, capsicum, feta skewers, along with my homemade BBQ sauce and aioli! My whole family usually comes around when they know I am cooking up my deeeelsih recipe! "
Serves8
Preparation Time10 min
Cooking Time1 hr 30 min
Cooking Vessel SizeSmoker or Grill
Total TimeUnder 2 Hours
Ingredients
- 1 (12-ounce) can of beer
- 5 pounds chicken
- 3 tablespoons our favorite BBQ sauce
- 2 tablespoons olive oil
Instructions
-
Preheat your grill (with a lid) to 225°F. If you are using wood chips in your smoker now is a good time to get them soaking. I like to use around 1/4 of the beer mixed with a little bit of water or whiskey. Make an additional 2 holes in the top of the beer can, this will help the beer absorb into the chicken better.
-
Remove the giblets from the chicken’s cavity and rinse the chicken thoroughly with lots of fresh running water. Dab completely dry with a paper towel both inside and out.
-
Sprinkle 1 1/2 teaspoons of your favorite rub, (or your homemade concoction) inside the bird’s cavity. Drizzle the oil over the entire outside of the bid, making sure to rub it all over with your hands for an even coating that the rub will stick to. Sprinkle over around 1 tablespoon of the remaining rub onto the outside of the bird. Put the remaining rub into the beer can. The beer should foam up slightly, don’t worry this is normal.
-
Next, we need to place the bird on top of the beer can. Hold the bird upright with the cavity facing towards the bottom. Lower the bird onto the beer can and lower until you get around 3/4 (or more) of the way down the can. Once the can is in place pull the legs forward to form a tripod. This should be enough to support the bird standing by itself.
-
Tuck the wing tips behind the chickens back.
-
Set up your grill for indirect grilling according to your grill manufacturers instructions.If you are using a gas or charcoal grill place a large drip pan under the chicken as there will be lots of runoff (perfect for making gravy later).
-
Place your chicken in the center of your cooking grate. You want it to be balancing on the can and the two legs. Make sure the chicken is sitting over your drip pan, this is very important. You want to savor all those delicious juices for a gravy, and obviously stop any potential flare-ups from occurring.
-
Cover your grill and cook until the chicken skin is a dark golden brown and super crispy. You want your chicken to be cooked to an internal temperature of 165°F. The best place to check the temperature is in the middle of the thickest part of the thigh, making sure to not touch the bone. This should take somewhere around 1 1/4 – 1 3/4 hours. If you do notice the bird browning to fast, wrap it loosely with aluminum foil until it has come to temperature.
-
Once the bird has come to temperature, remove from the grill. Do this by using tongs to grab the can and carefully transfer it to a platter.
-
Let the bird rest for at least 10 minutes to let the juices rest and the proteins to redistribute. Remove the chicken from the can and serve!

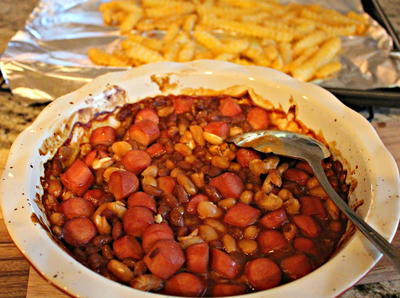
Read NextVintage Frank and Bean Casserole