This recipe was submitted by one of our readers, just like you.
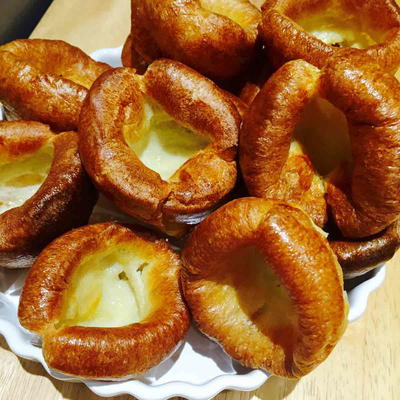
Best Homemade Yorkshire Puddings

Best Homemade Yorkshire Puddings
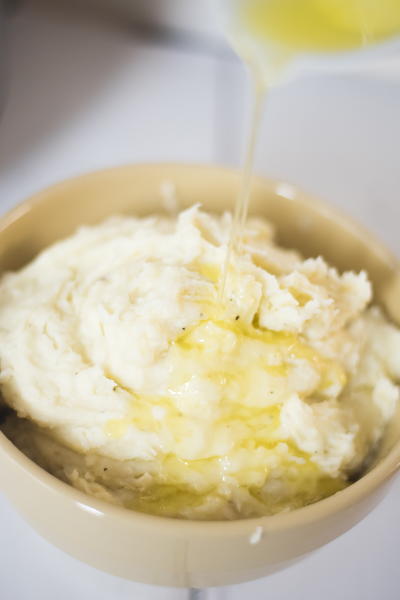
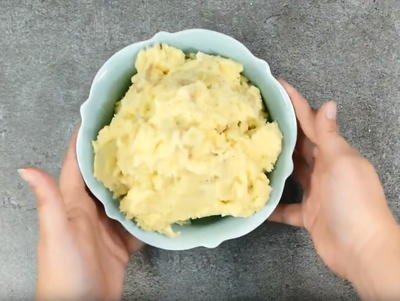
"And, hey, a Sunday roast, a Christmas lunch or dinner, a Thanksgiving dinner or a New Year’s party should never go by without these “puffy little guys” ? , a few veggies like this chuncky cauliflower dish on one side, a bit of mashed potatoes on the other side … mmmm yumm! The Yorkshire pudding will make such a serious difference… Just try it out, they taste a lot better than the frozen ones available in stores. Of course they do, they have no additives in them, they are homemade! Here is one idea of a meal these will be a treat to go with, a roast it’s all you need and the meat can be any you like. Needless to say these do accompany perfectly a totally meat free meal, they make such a great side to a vegetarian meal."
NotesThe pudding batter can be made a day before (keep in the fridge over night and take out 1-2 hours before making) but it can also be made 5 minute before baking those and it is as good. This needs to be shared as equally as possible into 6 portions. I would say it is going to be something like 60-70 ml each. I will measure next time I make these and let you know.
Serves22
Preparation Time10 min
Cooking Time20 min
Ingredients
- 140 g white flour
- 200 ml milk
- 100-150 ml oil (for cooking)
- 4 eggs
- salt
- pepper
Instruction
-
Preheat the oven at 200C/400F.
-
Pour some oil/goose fat into a nonstick/silicone 12 holes muffin tray and place in the preheated oven for about 10-12 minutes until the oil/fat is fairly hot. The batter should be sizzling when poured in. This is very important! If oil isn't hot enough the pud won't be right.
-
In a bowl, swift the flour mixed with salt and a little pepper.
-
Make a little well in the middle of the flour and put in the eggs. Using a whisking tool, whisk the eggs with the flour until it all becomes a lump-free, a thicker batter.
-
Pour in the milk gradually while still whisking constantly until the batter becomes smoother.
-
Pour the batter into a jug and set aside until ready to be poured in.
-
Carefully remove the tray from the oven, place on a nice stable surface (super careful, it is very hot) and start pouring a little batter in each hole. Try and be pretty quick with this operation. When the batter is all finished, place carefully but quickly the tray back in the oven. Bake for 20-25 minutes until nicely ‘tanned’.